Machine Learning with Laravel and AWS Personalize Part 2
In Part 1, we set up the project and the initial models and relationships.
In this part of the series we set up AWS Personalize to handle the Items and Interactions,
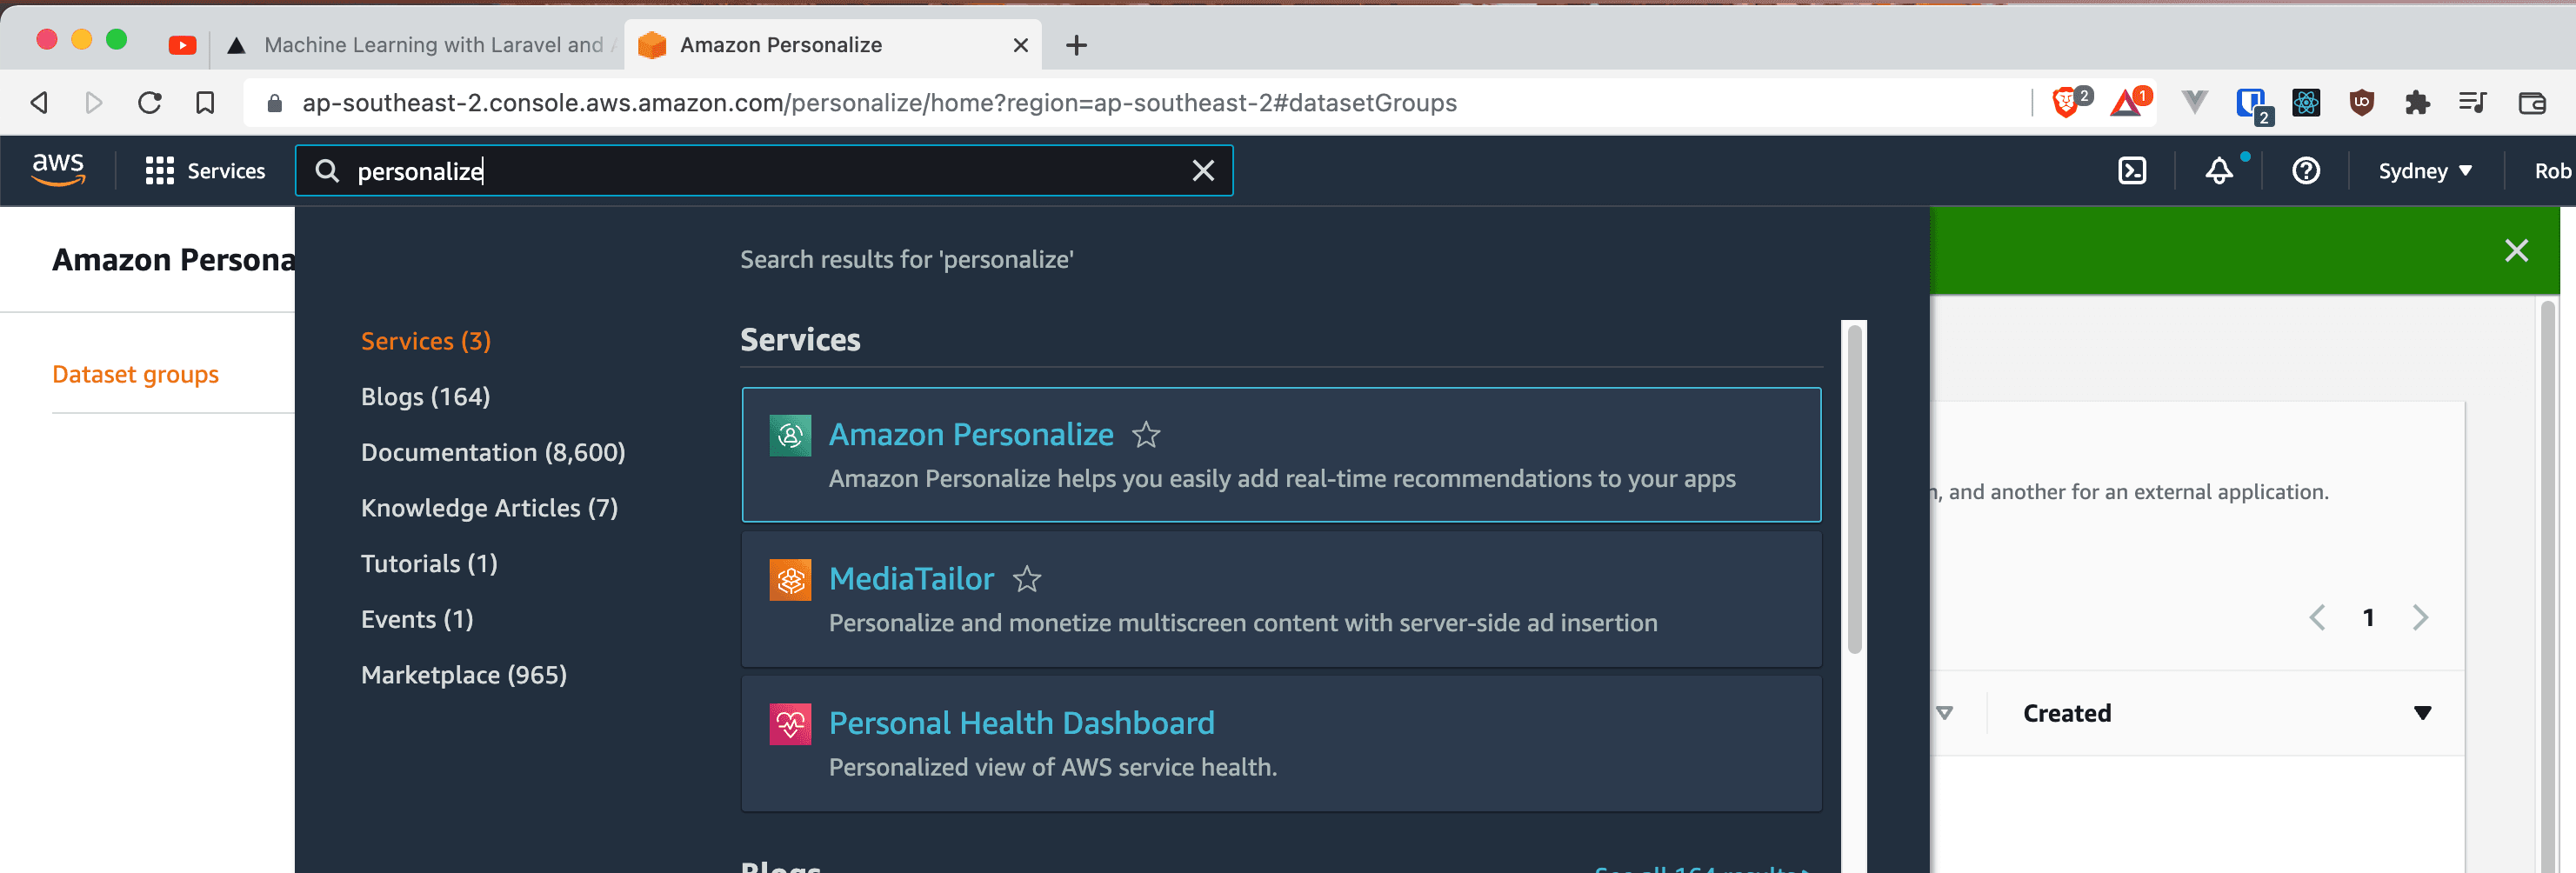
Login to the AWS console, and head over to the Personalize page.
Creating an S3 Bucket
Popover to AWS S3 and create a new bucket with the default permissions laravel-aws-personalize.
For now we'll manually upload the exported files from Part 1.
- storage/samples/interactions-dataset.csv
- storage/samples/items-dataset.csv.
S3 Bucket Permissions
You will need to attach an S3 Policy to your Bucket so that the AWS Personalized Service can access the files.
{
  "Version": "2012-10-17",
  "Id": "PersonalizeS3BucketAccessPolicy",
  "Statement": [
    {
      "Sid": "PersonalizeS3BucketAccessPolicy",
      "Effect": "Allow",
      "Principal": {
        "Service": "personalize.amazonaws.com"
      },
      "Action": ["s3:GetObject", "s3:ListBucket"],
      "Resource": [
        "arn:aws:s3:::laravel-aws-personalize",
        "arn:aws:s3:::laravel-aws-personalize/*"
      ]
    }
  ]
}
Note: Remember to replace laravel-aws-personalize with your bucket details.
Setup AWS Personalize
For the tutorial, we'll use the custom domain. Although, for a Production application you would probably select ecommerce. From what I can tell, there are only a few minor changes around the required schema fields, and you have custom capaigns instead of recommenders.
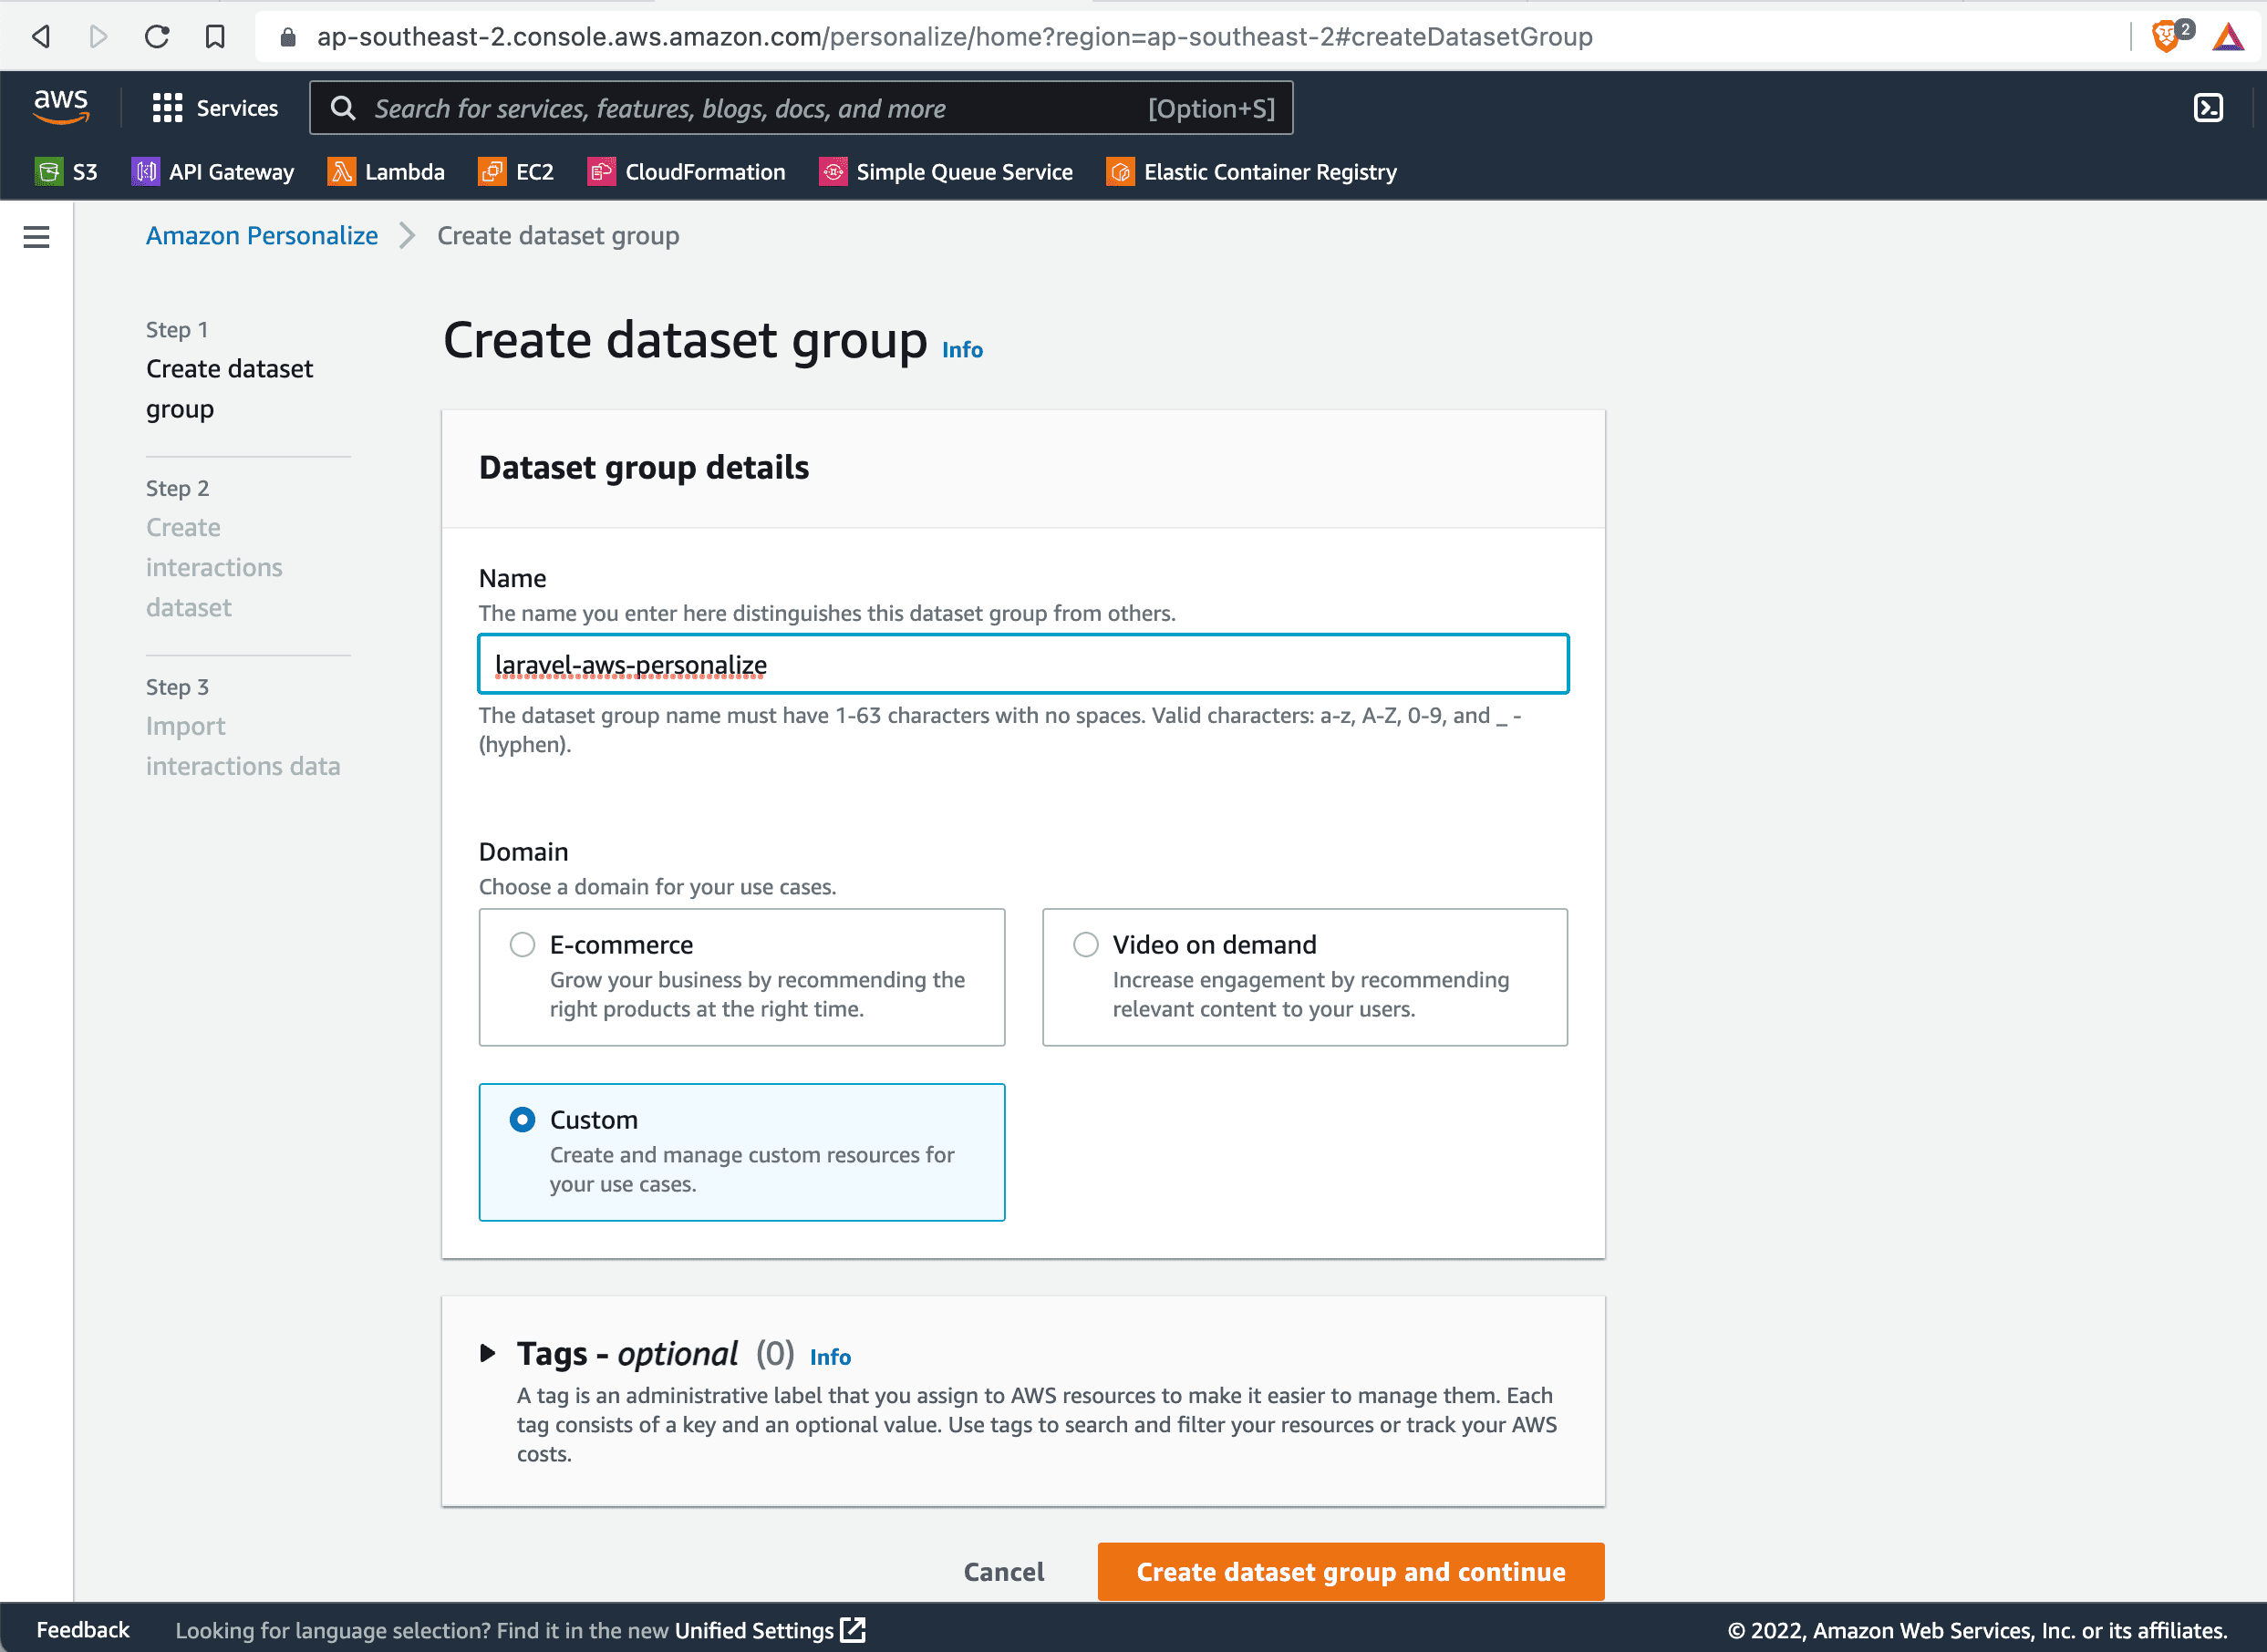
For the domain, make sure you select custom.
Creating an AWS Personalize Dataset Group
Next we'll create a Data Set Group.
A data set group is the largest container of information inside AWS Personalize, so any information in one dataset group can't adverse or impact any other data in another dataset group within your own account or across accounts. This makes them ideal candidates for isolating experiments and letting you know which recommendation approach is working best.
laravel-with-aws-personalize-interactions
We'll need two datasets, our lists of products or items in this case. And a dataset of our users interacting with products so Personalize can build recommendations around them.
Define a Personalize Schema
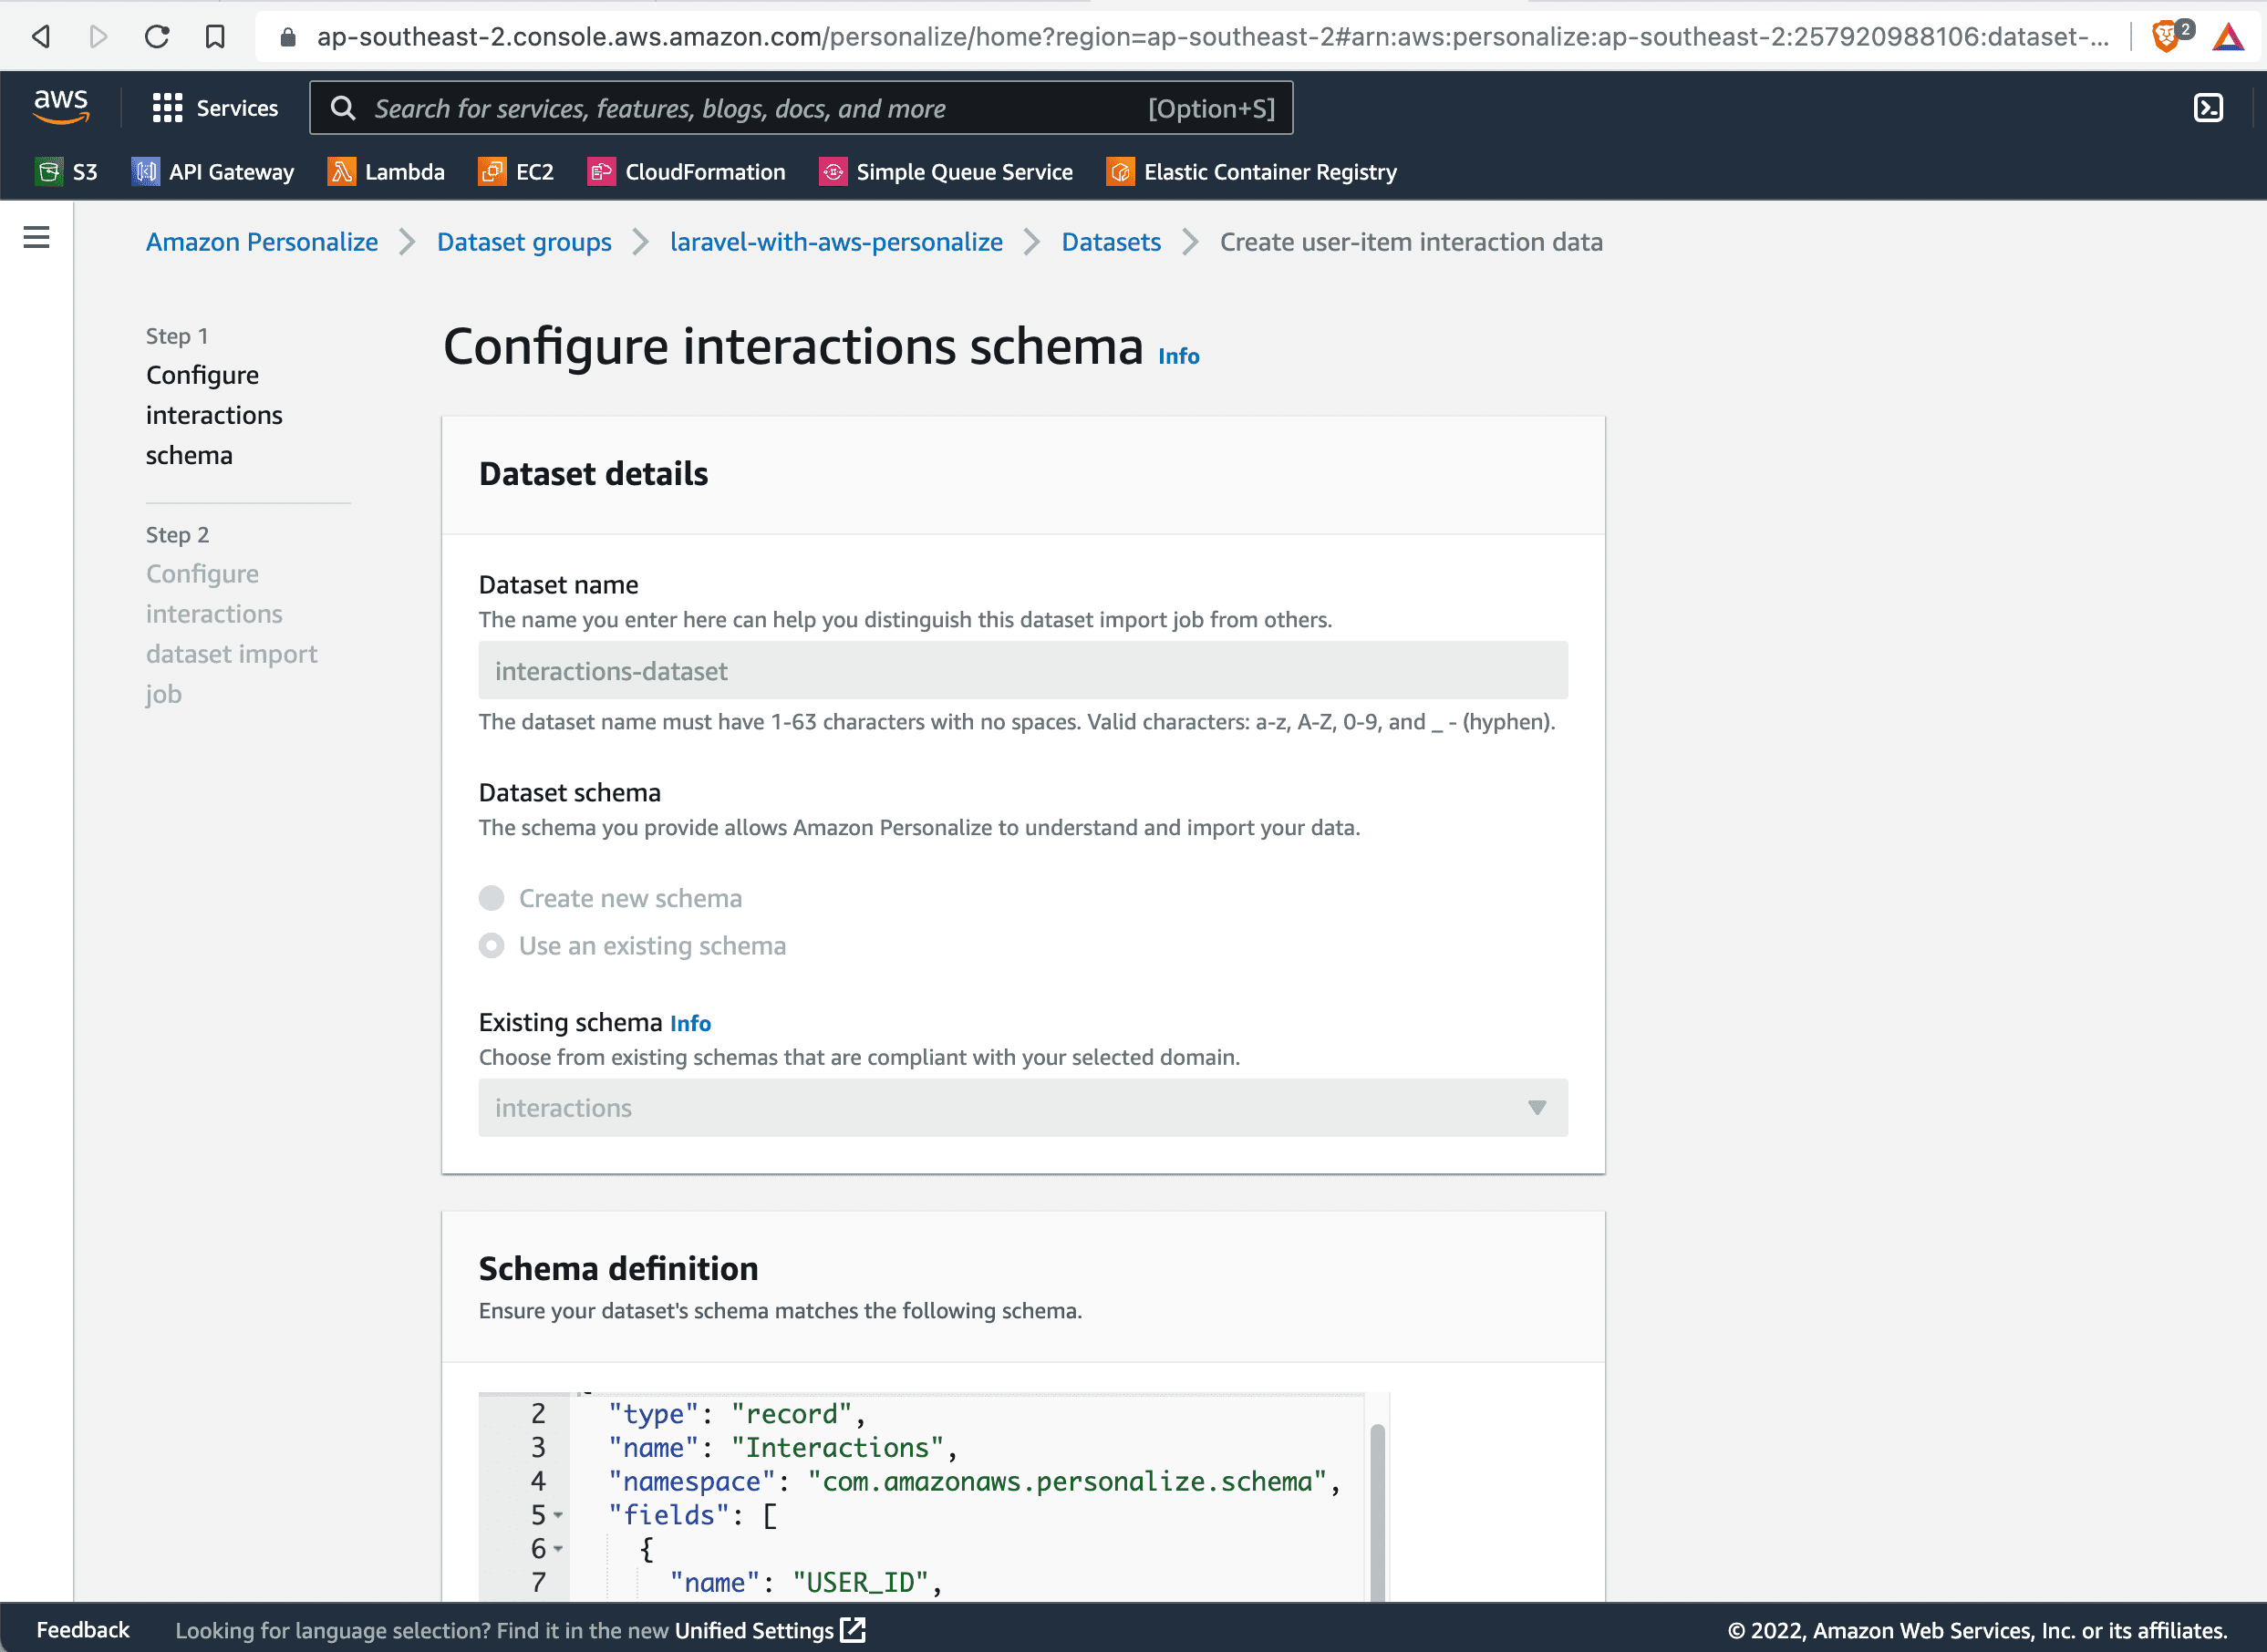
Create a User Interactions DataSet
We'll call this new interactions schema interactions-dataset.
For the schema enter:
{
  "type": "record",
  "name": "Interactions",
  "namespace": "com.amazonaws.personalize.schema",
  "fields": [
    {
      "name": "USER_ID",
      "type": "string"
    },
    {
      "name": "ITEM_ID",
      "type": "string"
    },
    {
      "name": "TIMESTAMP",
      "type": "long"
    },
    {
      "name": "EVENT_TYPE",
      "type": "string"
    }
  ],
  "version": "1.0"
}
Import User Interaction Data
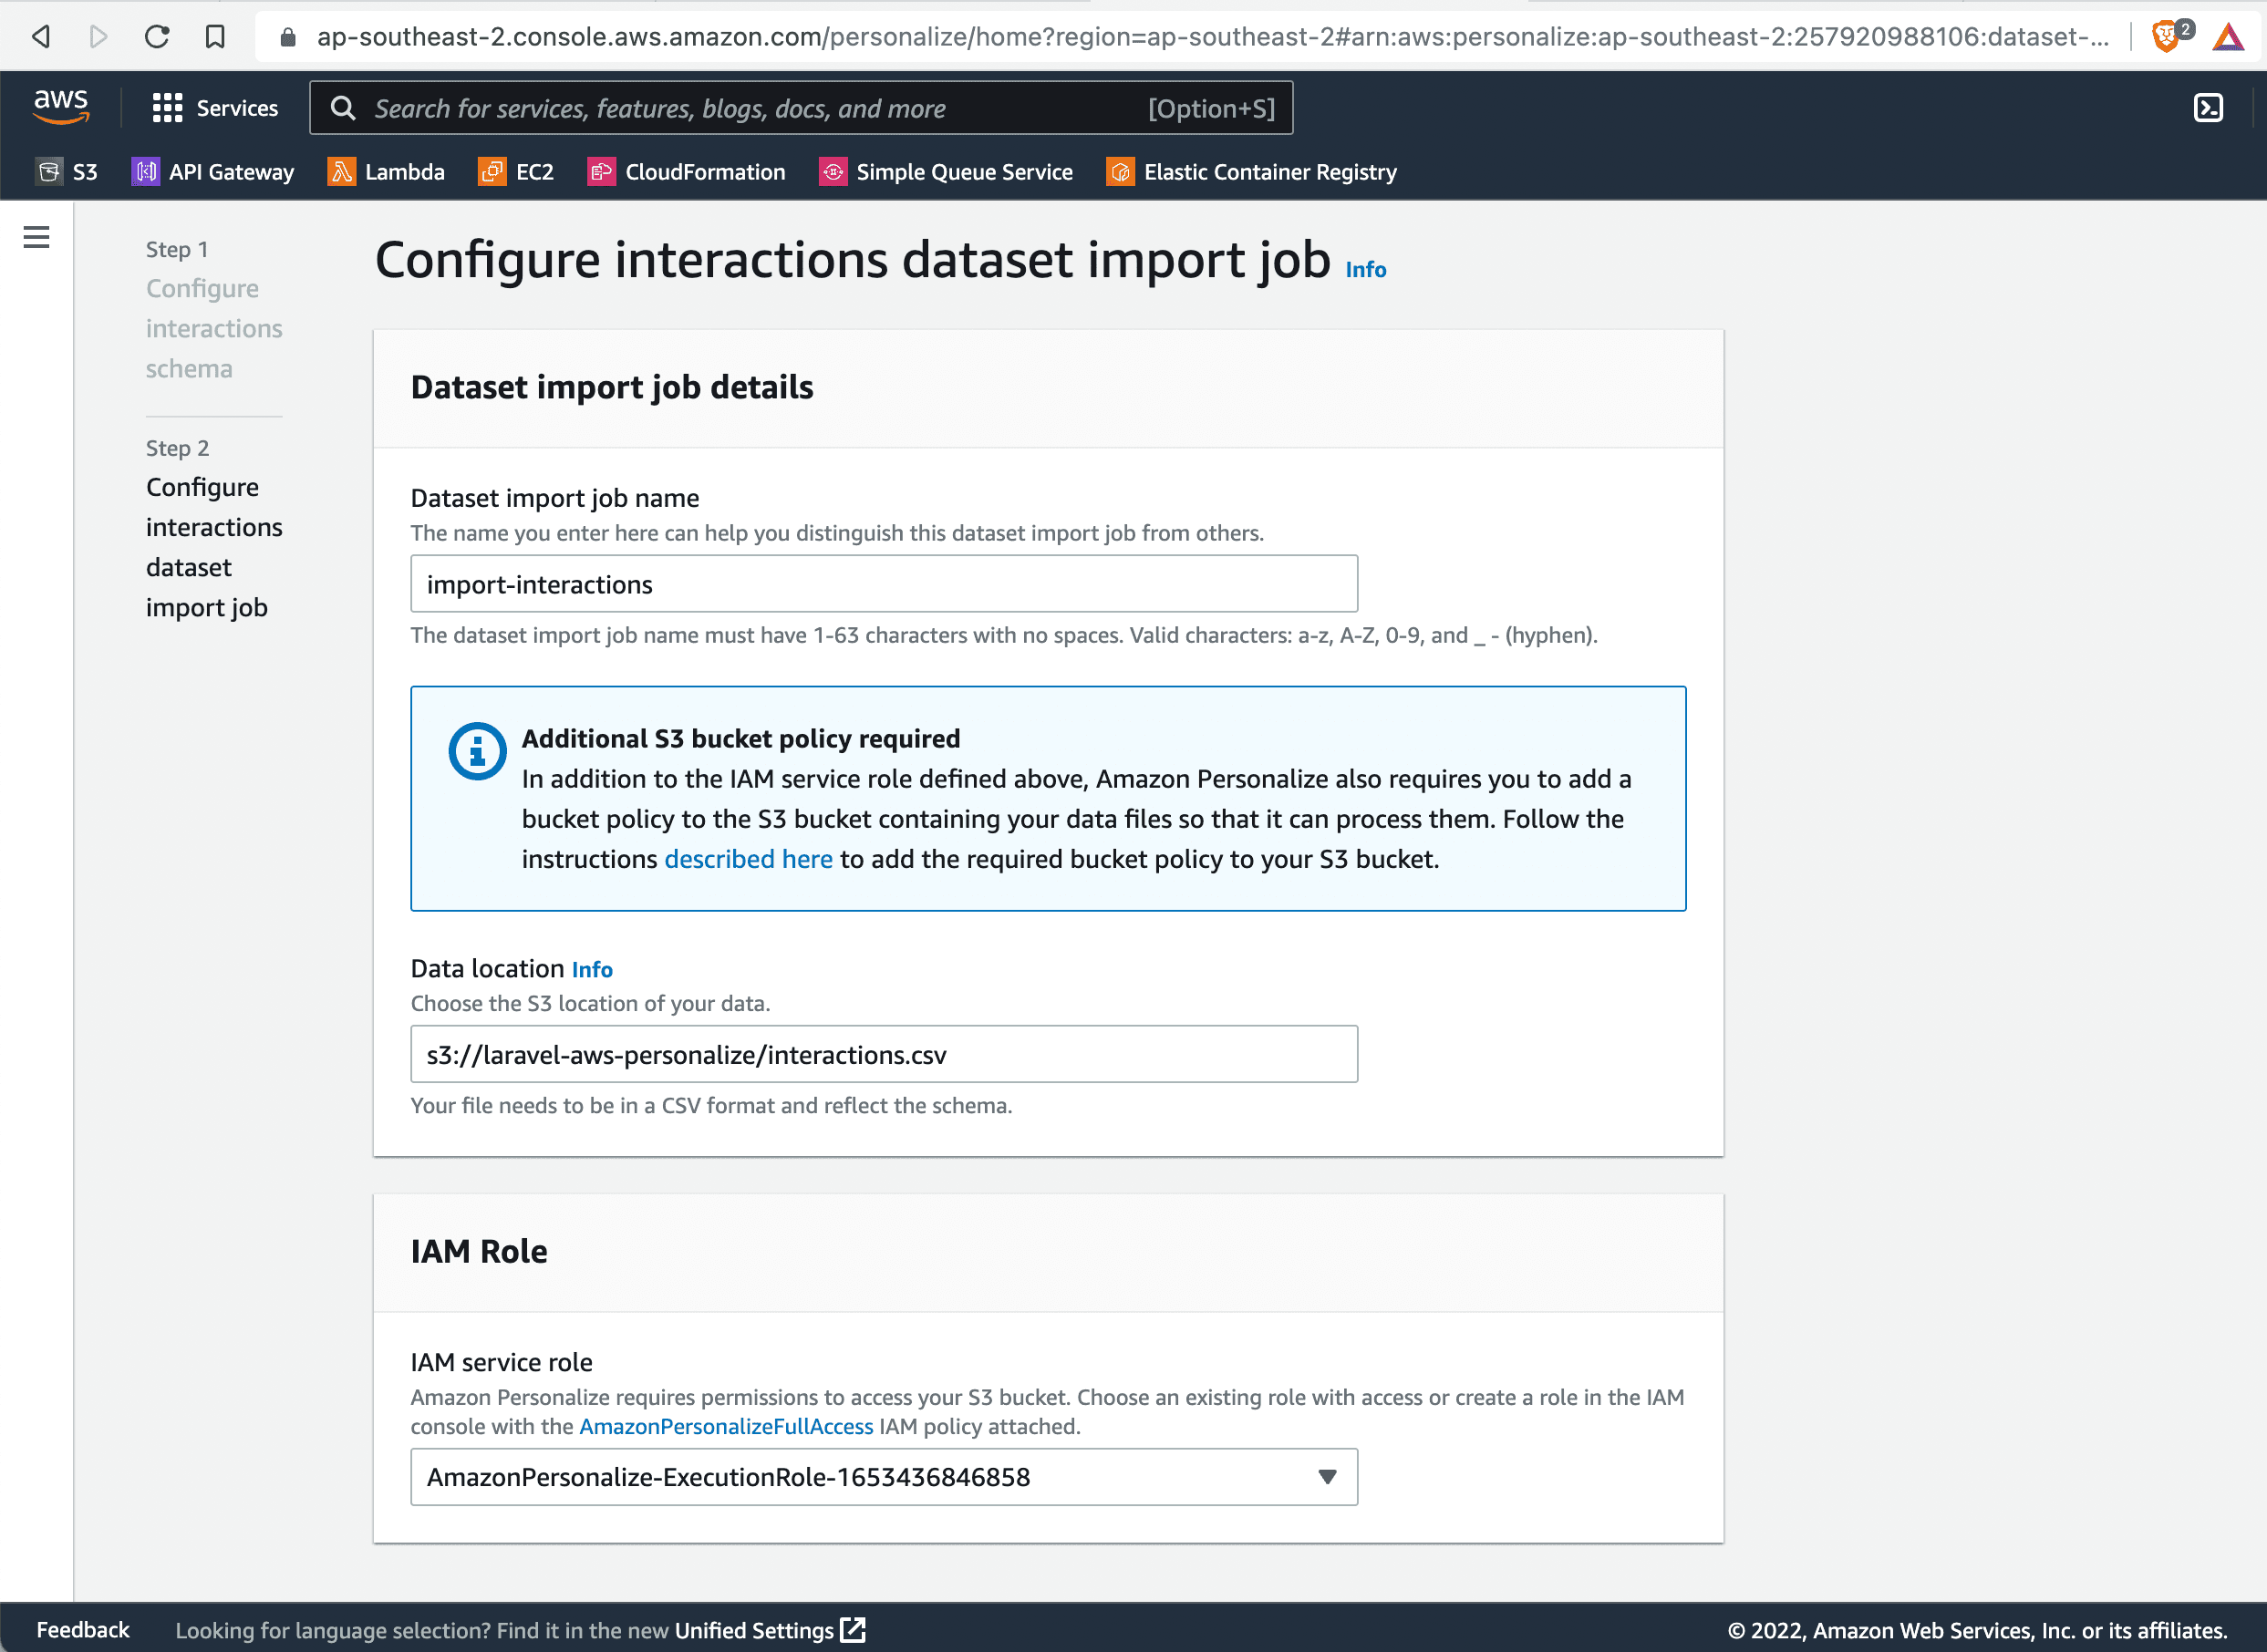
Next we'll define a location to import all our interactions data.
For the dataset import job name.
import-interactions
For the data location, we'll enter the s3 location to the interactions we uploaded earlier.
s3://laravel-aws-personalize/interactions.csv
Your solution should look like this.
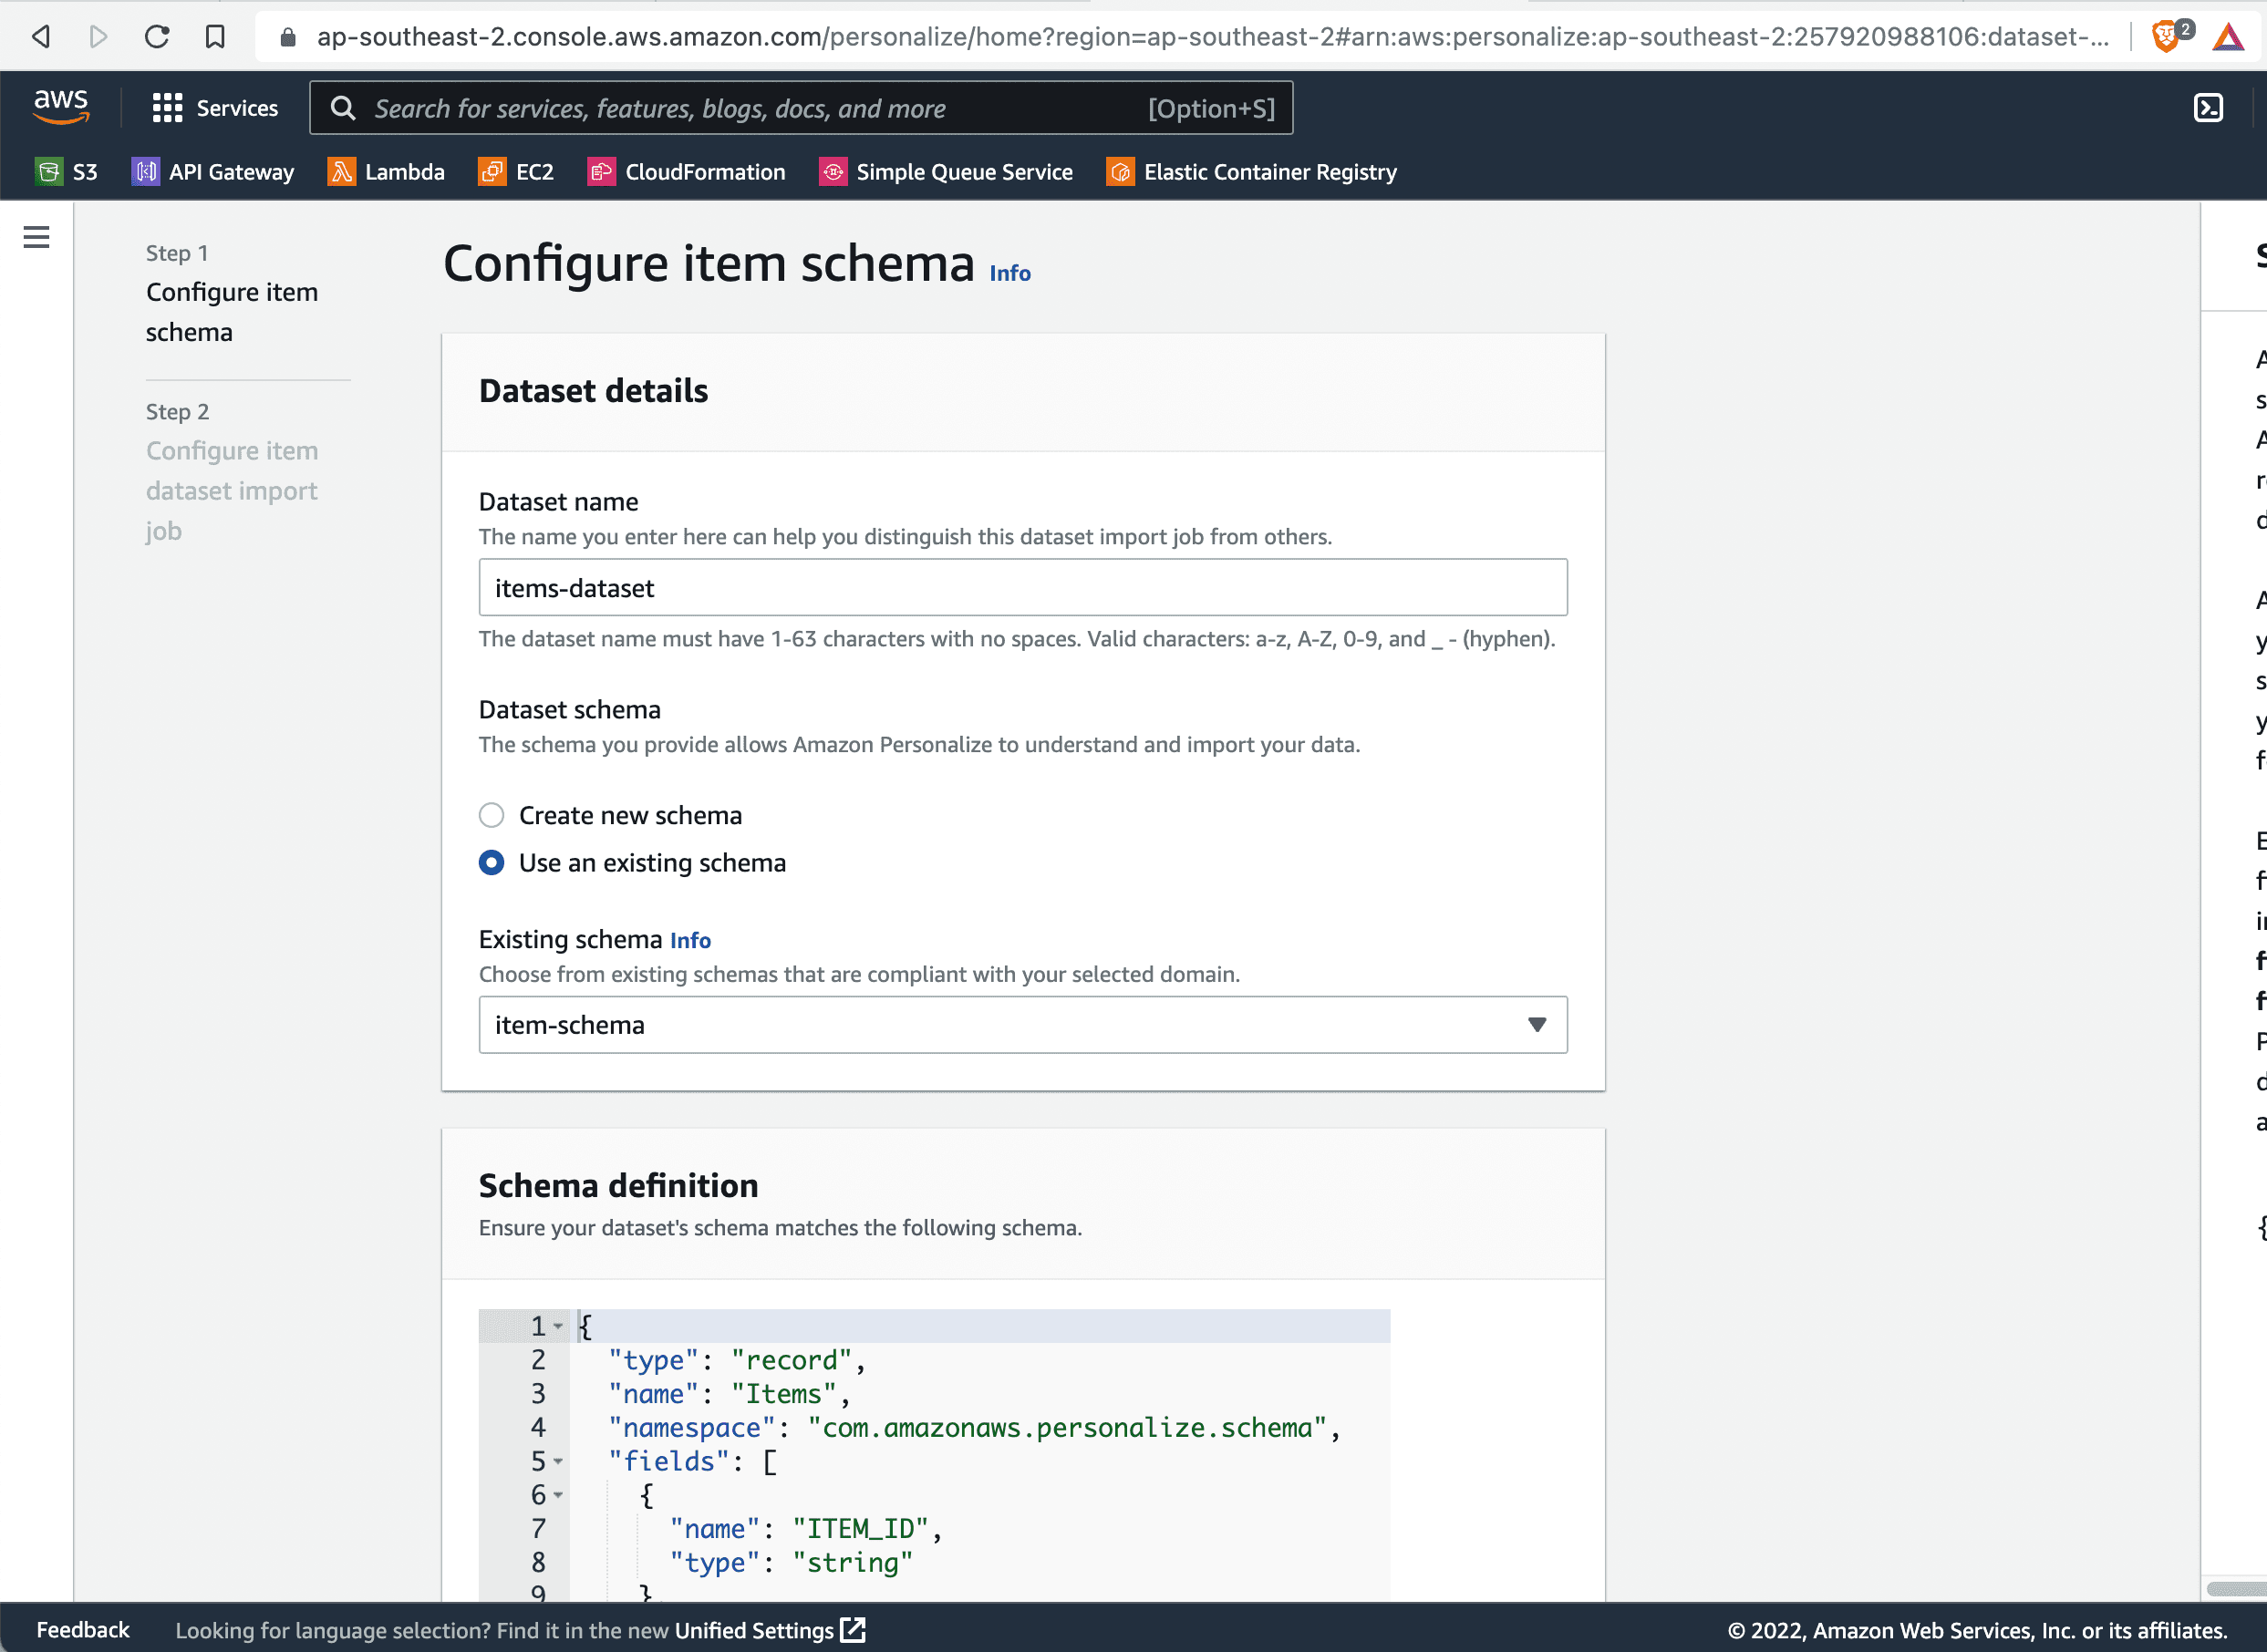
Create a Item DataSet
We'll call this new item schema items-dataset.
For the schema enter:
{
  "type": "record",
  "name": "Items",
  "namespace": "com.amazonaws.personalize.schema",
  "fields": [
    {
      "name": "ITEM_ID",
      "type": "string"
    },
    {
      "name": "GENRE",
      "type": ["null", "string"],
      "categorical": true
    }
  ],
  "version": "1.0"
}
Your solution should look like this.
Import Item Data
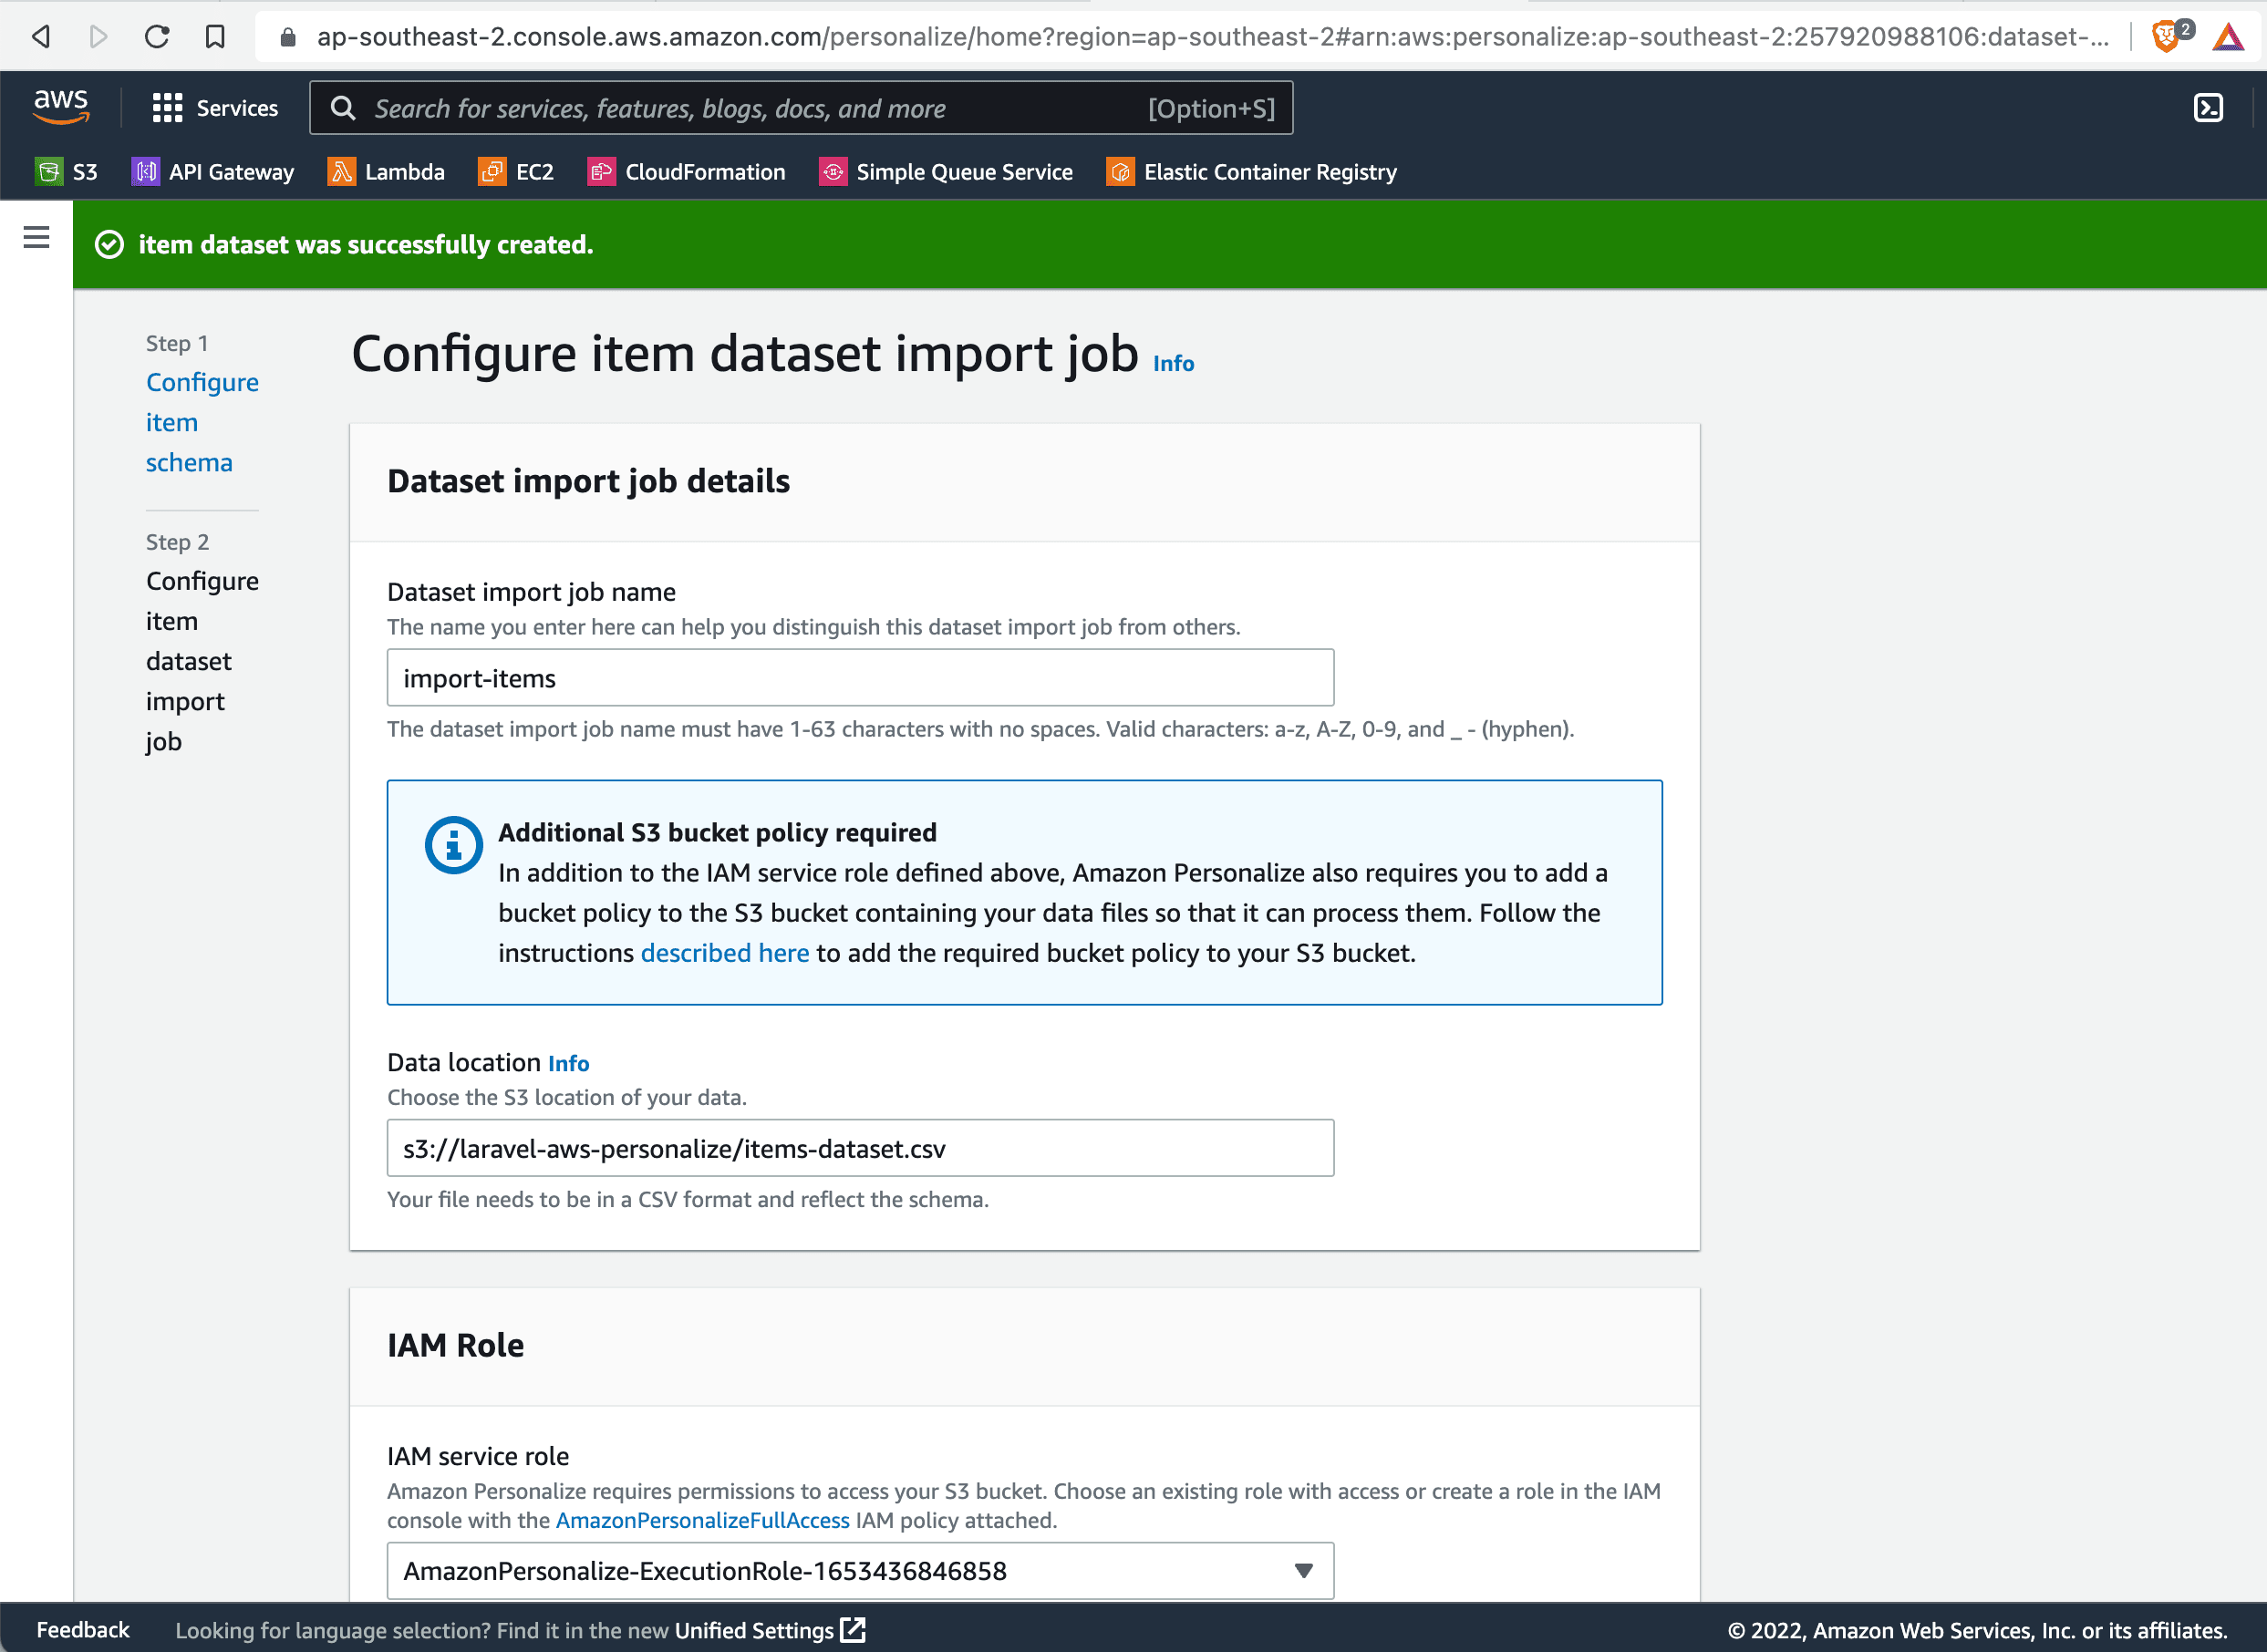
Next we'll define a location to import all our item data.
For the dataset import job name.
import-items
For the data location, we'll enter the s3 location to the interactions we uploaded earlier.
s3://laravel-aws-personalize/items-dataset.csv
Your solution should look like this.
Data Import complete
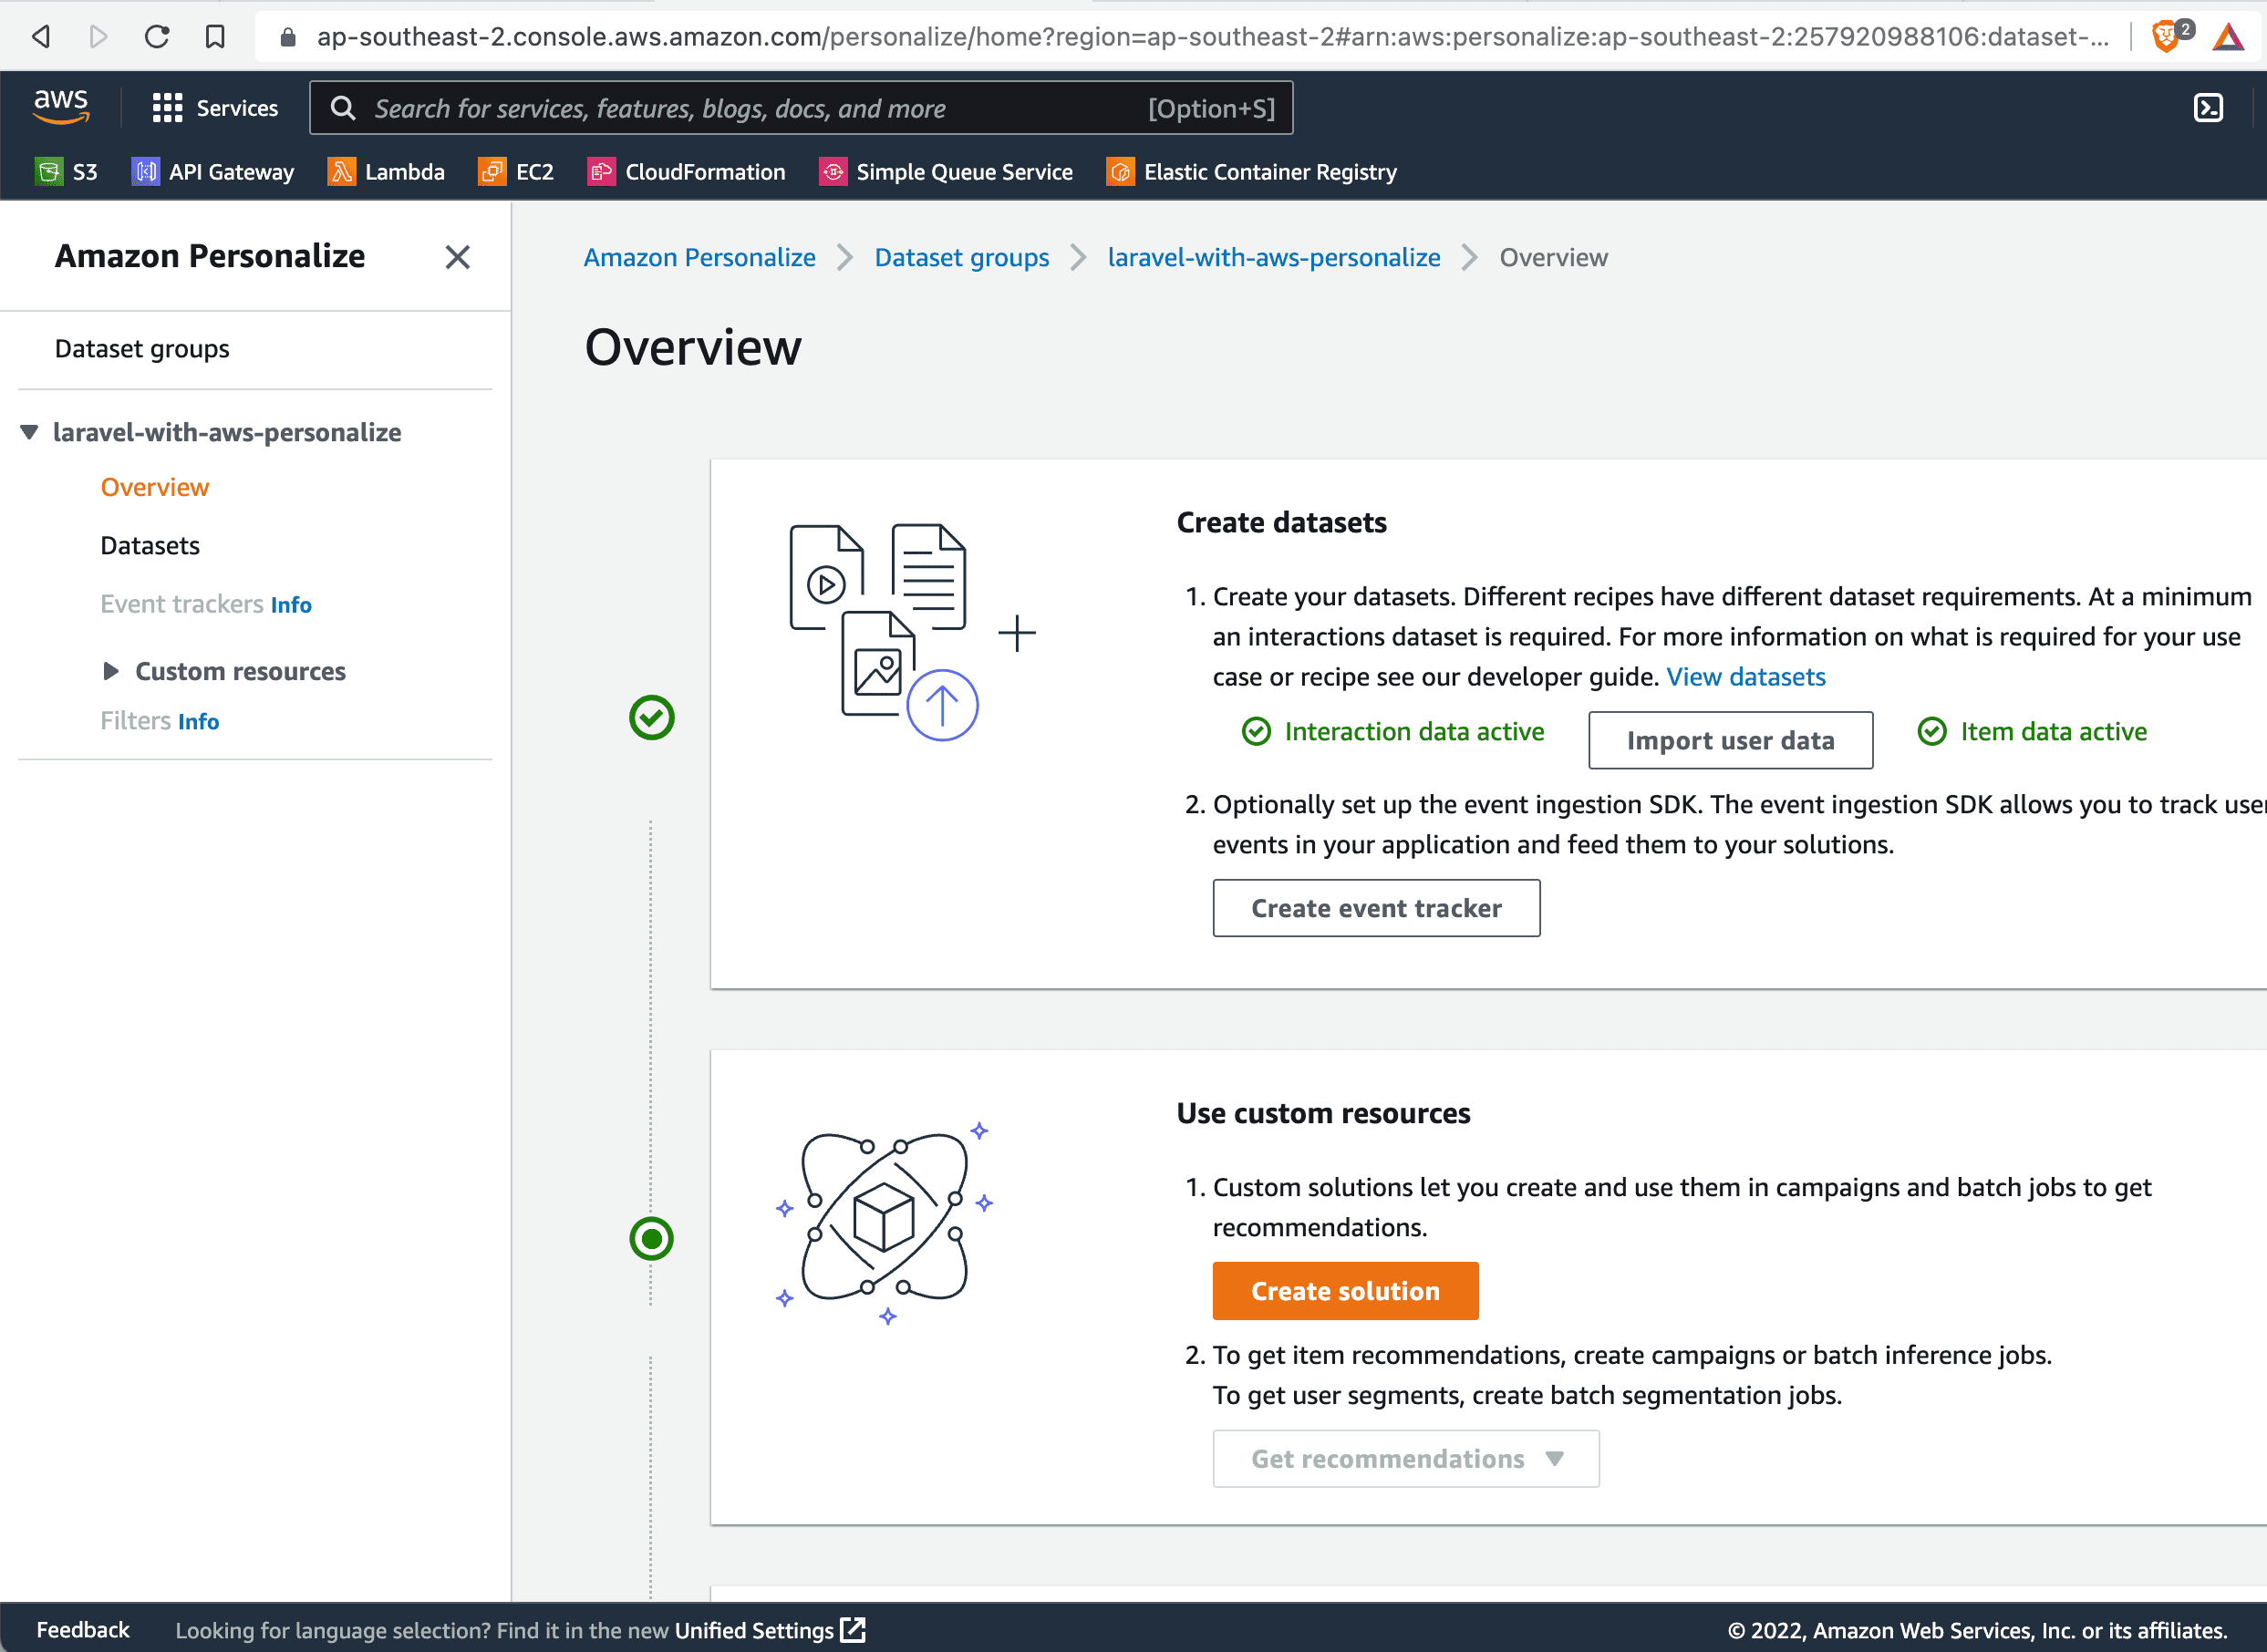
After a short while you will see Personalize has uploaded your data.
This concludes Part 2 of the series.
In Part 3, we'll start using AWS Personalize to create custom Campaigns, and explore some of the pre built recipes Amazon have built.
